FLYING GEESE QUILT BLOCK TUTORIAL
•Posted on January 26 2016

It's so wonderful to find a "short cut" to a quilting technique that is frequently used. You are going to love this handy Flying Geese Ruler that has done all the math and calculations for you!

The Flying Geese x 4 Ruler is sure to be your new best friend when you see how quickly and easily you can make Flying Geese. From one larger square and four small squares, you're able to make 4 flying geese pieces.

LET'S GET STARTED!

1. Determine the FINISHED size of your Flying Geese. Find the size on the ruler and cut the squares accordingly. Each solid line has a letter and a size on it, then turn the ruler to find the corresponding dashed line.

2. Cut the large square first. I used the "E" size. For the large square, line up your fabric to the solid lines.

3. Cut FOUR small squares, following the DASHED line that is the same letter "E"
 (I found it easier to turn the ruler around so I could cut from the right side right handed)

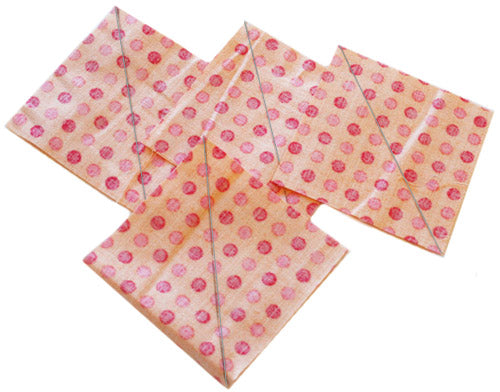
4. Trace diagonal lines on each of the four small squares of fabric.


5. Place two small fabric squares on the large square, with right sides together. Sew 1/4" seam to the left AND the right of the penciled line.

6. Cut down the penciled line to separate the two pieces.

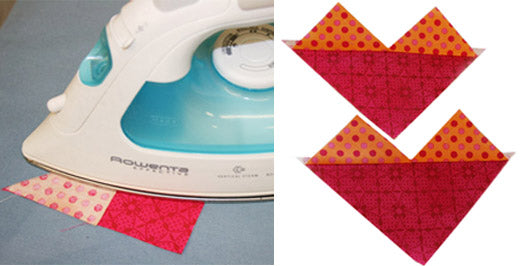
7. Press

8. Place a small fabric square in the bottom corner of the larger triangle. Sew 1/4" seam down the left AND right of the penciled line.

9. Cut down the penciled line to separate.

10. Press and now you have 4 finished flying geese pieces! You can arrange them in so many different ways!
