TWISTER TOOL TUTORIAL
•Posted on January 26 2016
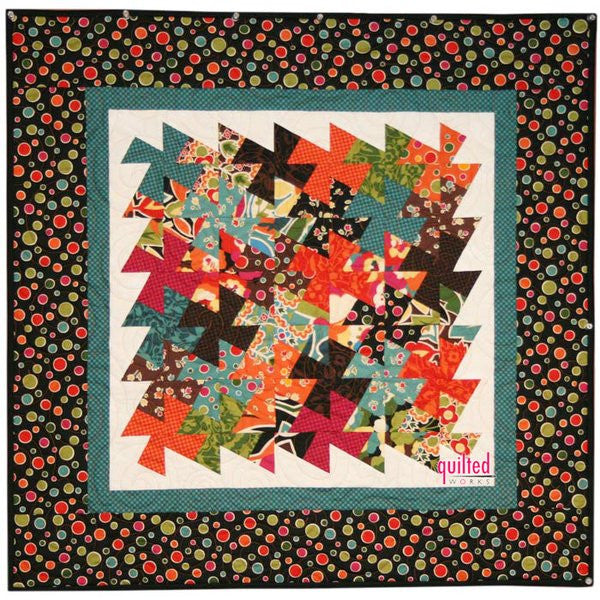
You've probably been seeing this great new technique a lot lately! This table topper is hanging in our store, just behind the front counter. Everyone is always wondering, "How did you make that?" It may look difficult, but is actually A LOT easier than you think!

Let us introduce you to the "Lil' Twister Tool." It's a small square ruler that allows you to easily make pinwheels without tracing or having to use templates.

This ruler has nice gripper feet on the bottom to prevent it from slipping around on your fabric. Let's get started and I'll show you how to use this nifty little guy!

You'll need a Charm Pack or 36 - 5" charm squares in a variety of fabrics. For this project we used the "Oh My!" by Sanae for Moda Fabrics. The colors are so bold and look amazing with the Twister Tool.

First, lay out the 36 charm squares that you want to use. Sew 6 squares together to create a row, repeat this to create 6 rows. Press the seams on each row going in the opposite direction. Sew the 6 rows together to create one big block that is 6 squares across by 6 squares down.

Next, we are going to add a white border. Cut four (4) 3" strips. Measure the width of your large charm square block and cut the length of the borders accordingly. Sew on the borders and press.

It should now look like this:

Here comes the fun part! Now we get to use the Twister Tool. We're going to go from left to right. Place the Twister Tool in the upper left corner so that it is on the white border and overlapping the top row of charm squares. The lines on the Twister Tool will line up with your seams. The only exception is there will not be seams in the borders. Just use the seams from the charms to line up the tool.

Use your rotary cutter to cut around all four sides of the Twister Tool.

The cut piece will look like this (the colored lines indicate where the original seams are):


Make sure to go from left to right, then top to bottom. It's easier to cut your piece and immediately bring it up and place it. Keep two rows together to make sure you're laying it out correctly.

Sew each row together, making sure not to stretch the fabric. You will have 7 rows total. Make sure to press the seams in alternating directions on every other row.

The fabric will be very stretchy. Try your best not to pull or stretch the fabric while you're pressing the seams.

Sew all 7 rows together and there you have it! Doesn't it look amazing?

You can also add borders...we added an inner border and outer border. Our inner border was cut at 1-3/4" and the outer border was cut at 4-1/2", however you can do them as large or small as you like.
Finished size of our table topper came out at 32-1/2" square.